How to Use Photos to Protect Your Security Deposit (Hosts and Guests)
Renters can lose hundreds to thousands of dollars each year to unfair security deposit deductions, and hosts lose money fighting damage claims that lack proof. The irony? Both sides usually have the same problem: no one took photos when it mattered.
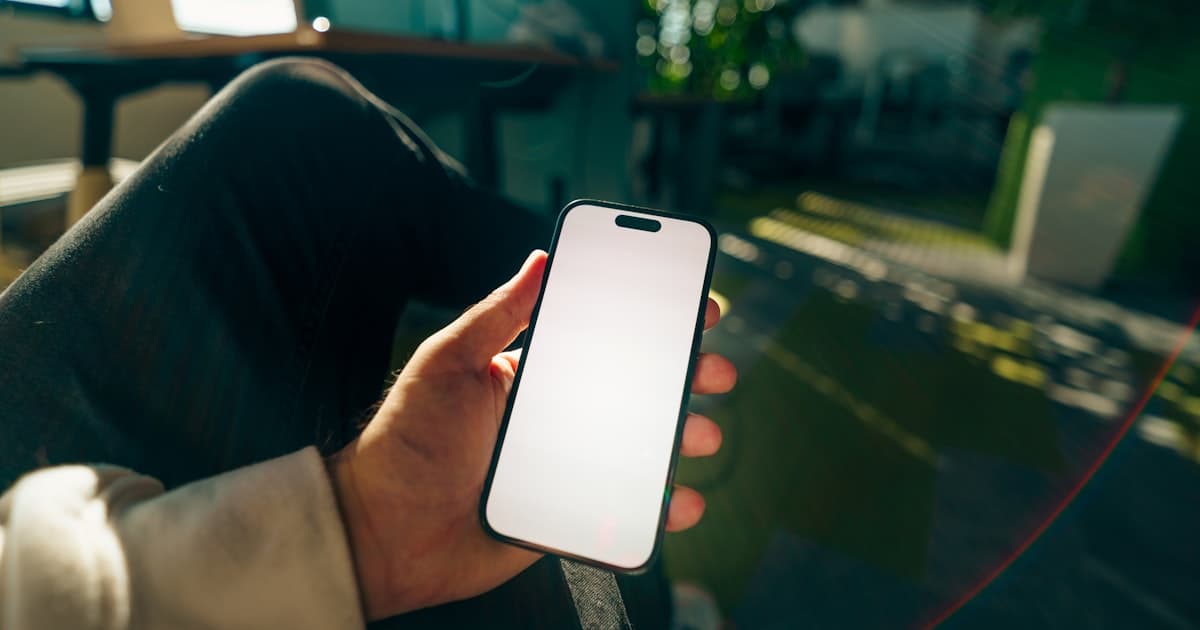
Security deposits create conflict because there's no agreed-upon record. The host says the guest left the place trashed. The guest says it was already trashed. Without photos taken at the right moment and locked in place, it's just he-said-she-said. Someone loses money. ProofMi — the short-term rental inspection app with bilateral co-signing — lets host and guest both sign the same walkthrough record, so there's one shared source of truth instead of two competing stories.
This guide shows both sides how to use photos to protect themselves—and protect each other.
Why Security Deposits Become Disputes
Security deposits are supposed to protect property owners. Guests damage the apartment. The owner keeps the deposit to cover repairs. Simple.
But that's not how it works in practice.
Most disputes happen because no one documented the property condition at move-in and move-out. Here's what typically happens:
From the host's perspective:
- Guest moves in and out on different days
- No formal walkthrough with photos
- Three weeks later, you notice stains, damage, or missing items
- You try to claim the deposit
- Guest says: "That was already there"
- You have no proof
From the guest's perspective:
- You move out and clean carefully
- Landlord says: "We found damage. Keeping the deposit."
- You don't have photos proving you left it clean
- You can't fight back without evidence
- You lose $2,000+ for nothing
The difference between a refunded deposit and a lost one? Almost always: photos. Not high-quality photos. Photos that were taken at the right time and prove what the condition actually was.
For Hosts: How to Protect Your Property at Move-In and Move-Out
If you're a property owner or landlord, your job is to document the condition before the guest arrives and after they leave. This gives you a baseline. You can prove what was already damaged and what the guest broke.
Move-In Documentation (The Baseline)
Before a guest ever arrives, do a complete walkthrough with photos.
Take photos of:
- Every room from multiple angles (wide shots first, then details)
- All walls (paint condition, holes, stains, marks)
- Floors (carpet wear, stains, scratches, tiles)
- Doors and door frames (dents, scratches, damage)
- Kitchen appliances (inside and outside, doors, handles)
- Bathroom fixtures (tiles, grout, sink condition, shower/tub)
- Windows and sills (cracks, dirt, damage)
- Light fixtures (working? damaged?)
- Any existing wear, stains, or damage
Make notes on date taken: Write down the date and any pre-existing damage. Store these photos somewhere safe—cloud storage that you can access a year later if needed.
This isn't about the quality of your camera. It's about having a record of what was already there. You're creating a "before" picture. Whatever happens during the guest's stay will be compared to this.
Move-Out Documentation (The Comparison)
After the guest checks out, do another complete walkthrough using the same angles and spots as your move-in photos.
Take photos of:
- Every room (exactly like you did at move-in)
- Any new damage (photograph it from multiple angles and in context—show the damaged area AND the surrounding room)
- Cleanliness (dirty areas, stains, debris)
- Missing items (if things are gone, photograph the empty space)
- Wear that looks unusual for the short stay
The goal isn't to exaggerate. It's to create a clear before-and-after comparison. Anyone looking at the two sets of photos can see exactly what changed.
Make Your Photos Count as Evidence
Just taking photos isn't enough. You need photos that can't be questioned.
Use a method that proves your photos are real:
- Timestamps that can't be removed or faked
- GPS location that confirms when and where
- Proof the photo wasn't edited after you took it
- A record you can share with the guest or show to a judge if needed
A regular photo from your phone camera app? Anyone can say you edited it to look worse. A verified photo with a locked timestamp and location? That's much harder to argue with.
This matters because guests will dispute your claims. If they can say "Those photos are edited," you're back to square one. But if the photos have proof built in, the dispute ends.
For Guests: How to Prove You Left It Clean
If you're a renter, your risk is different. You paid the deposit in good faith. You want it back. But landlords sometimes keep deposits for damage you didn't cause.
You can protect yourself by documenting the property condition when you move in and when you move out. This is your shield against unfair deductions.
Move-In Documentation (Your Starting Position)
On the day you get the keys, walk through the entire unit with your phone or camera. Document the condition exactly as you find it. This is your evidence that you inherited existing damage.
Take photos of:
- Every room (wide shots of the whole room, then details)
- Walls (all stains, marks, scratches, holes)
- Floors (dirt, stains, carpet wear, tiles, hardwood condition)
- Appliances (inside the fridge, oven, microwave—cleanliness and condition)
- Bathroom (tiles, grout, tub/shower, sink)
- Doors and door frames (any damage, scratches, dents)
- Furniture left behind (if the lease includes it)
- Windows and light fixtures
- Any damage or wear you notice
Take notes while you photograph:
- Today's date
- Any damage you can see
- Cleanliness level
- Things that don't work (broken light, leaky faucet, etc.)
Save these photos somewhere safe. Use cloud storage (Google Photos, iCloud, Dropbox) so you can't lose them.
Later, the landlord will claim something is damaged. You can immediately pull out your move-in photos and say: "That was already damaged. Here's the proof."
Move-Out Documentation (Your Exit Record)
This is the most important part. On your last day, before you hand in the keys, do a full walkthrough and photograph everything again.
Take photos of:
- Every room (same angles as move-in if possible)
- Clean surfaces (prove you cleaned and didn't damage)
- Areas that had wear at move-in (show you didn't make it worse)
- Your packed/empty apartment (show no extra damage was caused)
The point isn't to hide damage. It's to document exactly what condition you left it in. If there's a stain that was there when you moved in, photograph it. If you cleaned carefully, the photos will show that.
Then, immediately:
- Email the photos to yourself (create a timestamped record)
- Send them to the landlord (with a note: "Move-out documentation, [date]")
- Keep copies (cloud storage, external drive, anywhere safe)
If the landlord later claims you caused damage you didn't, you have photographic evidence of the condition on move-out day.
The Nuclear Option: Verified Photos
Here's what makes the difference in a real dispute.
A photo of a clean apartment on move-out day is good. But a landlord can claim you took the photo before moving out. A verified photo with a timestamp locked into it, location data, and proof it wasn't edited? That's evidence a judge would accept.
This is why using a camera app that locks photos matters. It's not about the camera quality. It's about having proof your photo is real, unedited, and taken at that specific moment. That proof is what wins disputes.
Mutual Documentation: The System That Protects Everyone
Here's an insight most people miss: When both the host and the guest document thoroughly, disputes almost disappear.
Why? Because there's no room for disagreement.
Example:
A guest moves in. They photograph the condition. The host has also photographed the move-in condition. They both have the same baseline.
Guest stays. They document move-out.
Move-out comes. Host documents as well.
Both parties compare their photos. If there's damage, the photos show exactly what happened, who caused it, and when. No guessing.
If the host's move-out photos and the guest's move-out photos look the same? The guest keeps the deposit. If they look different? There's obvious damage. The host can justify a deduction because it's documented.
This removes emotion and argument. It's just facts: here's what was there before, here's what was there after.
The host isn't trying to steal a deposit. The guest isn't trying to dodge responsibility. Both are just documenting reality. And reality doesn't lie.
How to Organize and Preserve Your Evidence
Taking photos is step one. Organizing them so you can use them later is step two.
Create a system:
Folder structure: Create folders on your cloud storage or computer
- "Property Address - Move In [Date]"
- "Property Address - Move Out [Date]"
- Inside each folder: organize by room (Bedroom, Kitchen, Bathroom, etc.)
Name your files clearly:
- Bad: "IMG_2024_02_11.jpg"
- Good: "Kitchen_Stove_Wide_2024-02-11.jpg"
- This way you know what room and what area the photo shows
Use cloud storage (not just your phone):
- Google Drive, OneDrive, iCloud, or Dropbox
- This ensures you don't lose photos if your phone dies
- You can access them from any device years later
Create a written summary:
- Date of move-in or move-out
- List of rooms photographed
- Any damage or issues noted
- Save this as a Google Doc or PDF in the same folder
Keep evidence for at least 1 year:
- Most places have a 1-year window for deposit disputes
- Landlords might contact you months later
- Keep organized until that year is up
What Happens If a Dispute Occurs
Let's say the landlord keeps your deposit. You received a letter saying: "Damage deductions: $800 for carpet stains, $500 for wall damage."
You believe this is unfair. Here's how your photos help:
Step 1: Compare your move-in and move-out photos
- Do your photos show those stains were already there?
- Did walls have damage when you moved in?
- If yes, you have proof
Step 2: Send a formal dispute
- Write to your landlord: "I received notice of [deduction amount]. I have photographic evidence the damage existed at move-in. Please see attached."
- Organize and attach your photos clearly
- Include dates and location info
Step 3: Escalate if needed
- If your landlord doesn't respond, contact your local tenant board or housing authority
- Many places have a formal process to dispute unfair deposits
- Bring your photos as evidence
Step 4: Small claims court (if necessary)
- If the amount is under your small claims limit (usually $5,000-$15,000), you can file a claim
- Bring printed copies of your photos
- Show the judge: "Here's move-in. Here's move-out. The damage was pre-existing."
Photos with verified timestamps and locations? Those are much stronger in small claims court than photos from your phone camera app.
FAQ: Security Deposit Photos
Q: When exactly should I take photos? A: Move-in photos the day you get keys (before you unpack). Move-out photos the day you leave (after you clean but before you hand in keys). Same-day photos matter because time creates doubt.
Q: Do I need a nice camera? A: No. Your phone is fine. The quality of the photo isn't the issue. The proof that it's real is. A basic phone photo with verified metadata beats a high-quality photo from a camera that can't prove it wasn't edited.
Q: What if I took regular photos (not verified)? A: They still help. You can use them to dispute in writing or small claims. A verified photo is just stronger evidence. But any photo is better than no photo.
Q: Can I ask my landlord to do a move-in walkthrough together? A: Yes. Many places require it by law. Request a formal move-in inspection. Both you and the landlord photograph and sign off on the condition. This protects you both.
Q: What if my landlord refuses to return the deposit and ignores my photos? A: Contact your local tenant rights board or housing authority. Most places have free dispute resolution. Bring your documentation.
Q: How long do I need to keep the photos? A: At least until the deposit is returned or the dispute is resolved. After that, keep them for 1-2 years (in case a new issue comes up).
Q: Should I share my photos with my landlord before move-out? A: It depends. If you trust your landlord, sharing move-in photos upfront helps (proves you documented the baseline). For move-out, it's your choice. Some guests send photos same-day. Others wait to see if the landlord claims damage first.
How to Take Photos That Hold Up
Whether you're a host protecting your property or a guest protecting your deposit, photo evidence only works if it's solid.
Make your photos count:
Use good lighting: Daytime or bright indoor lighting. Dark photos are hard to see and look suspicious.
Take wide shots first: Show the entire room before close-ups. This gives context.
Then take close-ups: Get detail on any damage or issues.
Photograph from multiple angles: A stain looks different from different directions. Multiple angles prove what's really there.
Include context: If there's damage, show it in relation to the rest of the room (not just a zoomed-in close-up).
Use the same method for consistency: If your move-in photos are from your phone, use your phone for move-out. If verified, use verified for both.
Timestamp and organize: Whether digital metadata or your own notes, make sure you know when each photo was taken.
Share smartly: Don't share everything on social media. Keep these photos secure and professional.
Related Reading
For hosts, learn more about protecting your property with documentation:
If you're dealing with Airbnb specifically:
The Bottom Line
Security deposit disputes happen because someone doesn't have proof. You can prevent that. Whether you're a host protecting your property or a guest protecting your deposit, the same tool works: photos taken at the right time, organized clearly, and proven real.
Hosts get protected because they can show exactly what damage guests caused. Guests get protected because they can prove the damage was already there or that they left it clean. Everyone wins.
The deposits that get returned without argument? Those belong to people who documented from the start.
Full disclosure: I'm the creator of ProofMi, a photo verification app designed for exactly this. ProofMi locks photos with timestamps, location data, and proof they haven't been edited—making your evidence stronger in disputes. But the system described here works with any method that creates verifiable, unedited photos. The most important part is documenting early and thoroughly.
ProofMi is free during our launch period. We'd love your feedback on what would make photo documentation easier for you. Whether you're a host, a guest, or both, download on iOS & Android and let us know what features matter most.